Microblading Aftercare Products You Need for Perfect Results: Your Guide to Healing and Touch-Up Success
By Deanna Alejandro, New Concept Beauty Bar | Clermont Beauty Studio
Microblading can boost your natural brows — but careful aftercare makes the difference. This concise guide explains the essential products and routines to help your brows heal cleanly and retain colour. You’ll find straightforward advice on cleansing, ointments, saline, and timing for touch-ups. For a complementary pampering option, consider head spa services.
For a deeper understanding of the procedure’s mechanics and associated risks, consider the following study.
Microblading Trends & Biological Hazards
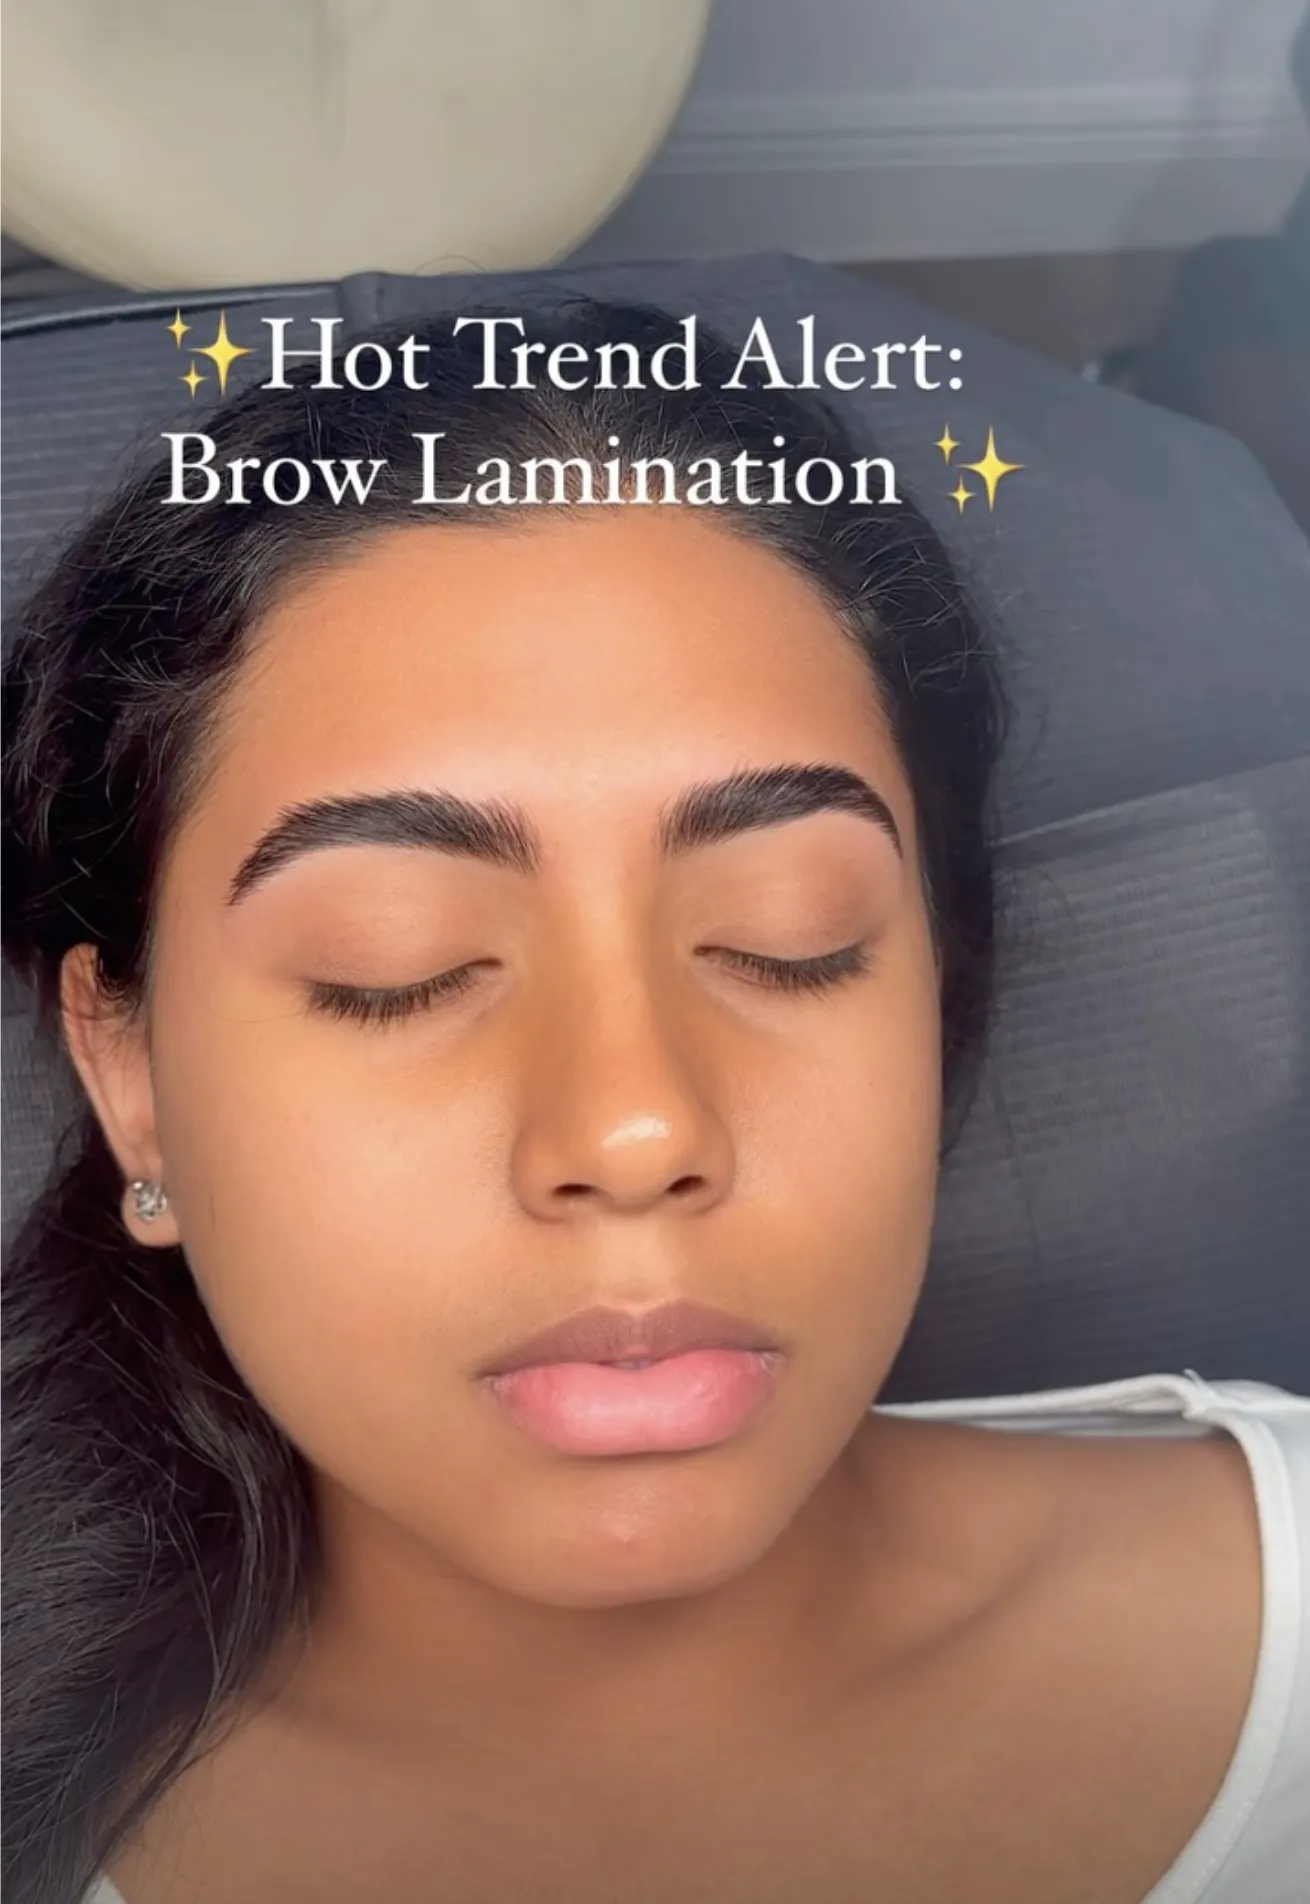
Microblading’s become one of the fastest-growing beauty trends, showing up in tattoo studios, salons and even home setups. The technique uses a single-blade tool to reach the upper layer of the dermis and lay down semi-permanent pigments that mimic hair strokes. This study compares microblading’s risks with those of tattooing and looks at shared factors to identify potential biological hazards. Biological hazards associated with microblading and evaluation of its infection control procedures and wound care, 2018
Key Takeaways
- Proper aftercare improves healing and pigment retention for longer-lasting brows.
- Use gentle, fragrance-free cleansers to remove dirt without drying the area.
- Healing ointments with aloe vera or vitamin E soothe and lock in moisture to reduce scabbing.
- Saline helps clear discharge and keeps the area hydrated, limiting scab formation.
- Don’t touch, rub, or apply makeup to brows until fully healed to avoid infection.
- Book a touch-up 4–6 weeks after the procedure to correct pigment loss and refine shape.
- Protect brows from sun and avoid wetting them for about a week after microblading.
- Manage itching and dryness with gentle moisturizers and consult your artist for uneven pigment.
- Avoid nearby cosmetic procedures during healing to preserve pigment and skin health.
Essential Healing Products
Choose a few targeted items for recovery: a gentle cleanser, a light healing ointment, and saline. Each supports healing in a different way—cleansing, moisture balance and gentle debridement of crusts.
Gentle Cleanser
Use a mild, fragrance-free cleanser to keep the area clean. Dab gently instead of rubbing to avoid disturbing strokes. Regular but gentle cleansing reduces infection risk and helps the pigment settle evenly.
Healing Ointment
Apply a thin layer of healing ointment as directed during the early days. Ingredients like aloe vera and vitamin E calm irritation and preserve moisture, which reduces scabbing and helps pigment take.
Saline Solution
Use sterile saline to gently rinse away discharge or crusts and keep the skin hydrated. Light sprays or pats can lessen visible scabbing and improve comfort during recovery.
Aftercare Guidelines
Keep the area dry and clean, avoid touching, and skip makeup nearby until healed. Watch for infection signs—excessive redness, swelling or pus—and contact a professional if they appear.
Touch-Up Guidelines
Touch-ups are typically scheduled 4–6 weeks after the initial session, once healing is complete and any pigment gaps are visible. Discuss desired tweaks with your artist and avoid blood thinners or irritating skincare in the days before your appointment.
Tips for Maintaining Optimal Eyebrow Appearance
To extend results, follow these simple habits:
- Sun Protection: Apply sunscreen or wear a hat to prevent fading.
- Avoid Wetting: Keep brows dry for about a week to allow pigments to set.
- Gentle Procedures: Postpone chemical peels, electrolysis or aggressive facial treatments near the brow area while healing.
Simple adherence to these tips helps your brows remain vibrant longer.
Common Healing Issues and Solutions
Minor issues are common; prompt care usually resolves them:
- Itching: Normal during healing—use a recommended ointment rather than scratching.
- Dryness: Apply a thin layer of healing balm to maintain moisture.
- Uneven pigment: If patchiness appears after healing, return to your artist for a touch-up.
Following recommended steps helps you manage these concerns and preserve appearance.
What Are the Best Microblading Aftercare Balms and Ointments for Healing?
Look for balms that support moisture, reduce scabs, and protect pigment. Common, safe options include:
These items form the core of a practical aftercare kit to support smooth healing and lasting results.
Frequently Asked Questions
1. How long does the microblading healing process take?
Healing commonly takes about 4–6 weeks. You’ll see stages—redness, scabbing, then settling of pigment. Avoid touching or wetting the area and follow your artist’s instructions. A touch-up around 4–6 weeks is standard.
2. Can I use makeup after microblading?
Do not apply makeup on or next to the treated area until fully healed (usually 1–2 weeks). Makeup can introduce bacteria and disturb healing. Once healed, light makeup is generally fine—confirm with your artist.
3. What should I do if I experience itching during healing?
Itching is normal—avoid scratching. Use a gentle, recommended healing ointment to soothe the area and contact your artist or a professional if symptoms worsen or you see signs of infection.
4. How often should I be applying aftercare products?
Follow your artist’s instructions. Commonly, cleanse gently twice daily, apply ointment once or twice a day, and mist saline as needed to keep the area slightly moist.
5. What activities should I avoid after getting microblading?
Avoid activities that cause heavy sweating or wet brows (intense workouts, swimming, saunas) for at least a week. Also avoid strong topical actives like retinoids near the brows while healing, and protect from direct sun.
6. How long does microblading last before needing a touch-up?
Results typically last 1–3 years depending on skin type, lifestyle and care. An initial touch-up at 4–6 weeks is common; after that, maintenance intervals vary by person.
7. Are there any side effects or risks associated with microblading?
Risks include possible infection, allergic reaction to pigment, or uneven healing. Choosing an experienced, licensed artist and following aftercare reduces risk. Seek medical advice if you notice unusual symptoms.
Conclusion
Thoughtful aftercare is key to crisp, long-lasting microblading results. Use gentle cleansers, appropriate ointments and saline, follow your artist’s guidance, and schedule a touch-up at 4–6 weeks. For tailored product suggestions, consult your microblading artist before you buy.